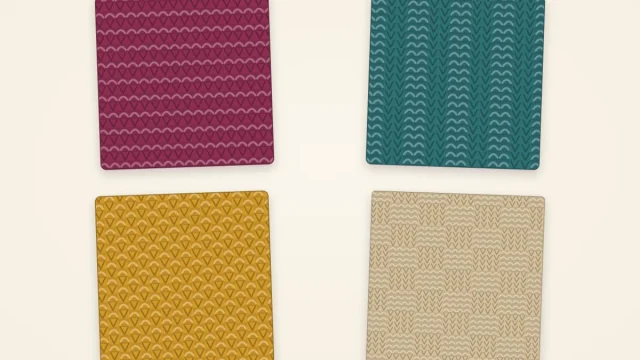
Broken Rib Stitch: An Easy Textured Stitch and Scarf Pattern
Broken rib is one knit row followed by one row of purl 1, knit 1. This guide explains the stitch and gives a 33-stitch scarf with a narrow garter edge to keep it flat.
Tutorial at a glance
Materials
- Tapestry needle
- Scissors
- Tape measure
- Removable stitch marker or safety pin
Take ordinary 1×1 rib and replace every other row with a plain knit row. That is broken rib. Half of the rows need no thought at all, the other half are a simple knit-one, purl-one, and the result is a textured fabric that looks more involved than it is. For a scarf it has one more advantage: the two faces are different, but both are good-looking, so it does not matter which way the scarf falls.
What broken rib looks like
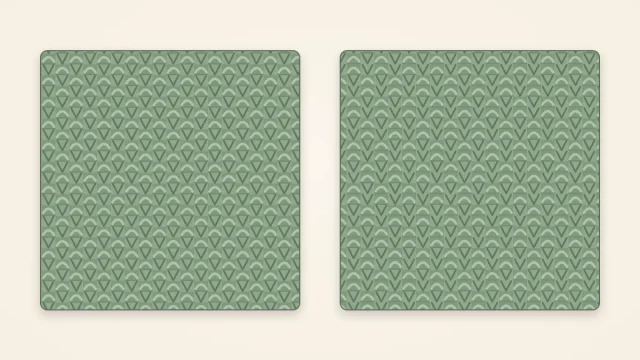
On the right side (RS), smooth columns of knit stitches alternate with columns where every second stitch is a small purl bump. From a distance it reads as fine vertical lines of dots between plain stripes. On the wrong side (WS), the plain rows show as purl ridges, so the whole surface is pebbly, a little like seed stitch with a faint vertical grain.
Unlike true ribbing, broken rib does not pull in sharply. The plain rows interrupt the columns, so the fabric stays close to its knitted width and has only a mild crosswise stretch. That makes it easier to predict the size of the finished scarf than with the 2×2 ribbed scarf, where the fabric contracts by a large amount.
How to work the stitch
Broken rib uses the knit stitch (k) and the purl stitch (p) over an odd number of stitches (sts), with a two-row repeat:
- Row 1 (RS): knit every stitch.
- Row 2 (WS): p1, *k1, p1*; repeat from * to the end.
The odd count means Row 2 begins and ends with a purl, which shows as a smooth knit column at both edges of the right side.
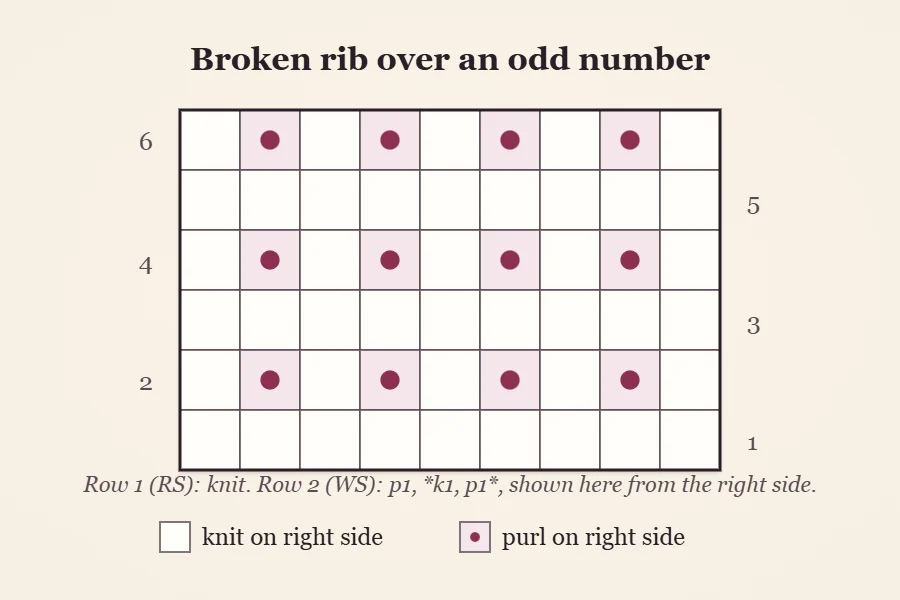
You can always tell which row is next by looking at the side facing you. If you see smooth knit columns with dotted columns between them, you are on the right side: knit across. If the surface is bumpy all over, you are on the wrong side: work p1, k1.
Does broken rib lie flat?
Mostly. Three out of every four stitches on the right side are knits, so the fabric is not perfectly balanced the way garter or seed stitch is. It has a slight tendency to roll at the cast-on and bind-off ends and a much smaller one along the sides. It is nothing like the tube that plain stockinette becomes, but on a long scarf it is worth designing the roll out from the start.
The pattern below does that with a narrow frame of garter stitch: two stitches knit on every row at each side, and four rows of knitting at each end. Garter lies completely flat, and the frame is narrow enough that it reads as a neat edge and not as a border. Other edge options, including slipped stitches, are compared in the guide to neat scarf edges.
Broken rib scarf pattern
What you need
- Yarn: worsted weight (#4), about 300 yd (275 m), in a smooth solid color. This is an estimate; buy a little extra if your yarn comes in small balls.
- Needles: US 8 (5 mm) straight needles.
- Notions: tapestry needle, scissors, tape measure, and a removable stitch marker or safety pin to mark the right side.
Size and gauge
Finished size: about 7.25 in (18.5 cm) wide and 64 in (163 cm) long.
Gauge: about 18 stitches to 4 in (10 cm), or 4.5 stitches per inch. At that gauge, 33 stitches measure 33 ÷ 4.5 = 7.3 in. A scarf does not have to match exactly, but a short gauge swatch will show you whether you like the fabric before you commit to 64 inches of it.
Stitch count
The 33 stitches are 2 garter edge stitches + 29 broken rib stitches + 2 garter edge stitches. The center section is an odd number, as the stitch requires.
Instructions
- Cast on (CO) 33 stitches.
- Bottom edge: knit 4 rows. This makes 2 garter ridges. Pin the marker to the side now facing you; that is the right side.
- Row 1 (RS): knit all 33 stitches.
- Row 2 (WS): k2, p1, *k1, p1*; repeat from * to the last 2 stitches, k2.
- Repeat Rows 1 and 2 until the scarf measures about 63.5 in (161 cm), ending after a Row 2.
- Top edge: knit 4 rows.
- Bind off (BO) knitwise, not too tightly. Leave about 29 in (74 cm) of yarn for the bind-off, four times the scarf width.
- Cut the yarn with a tail of at least 6 in (15 cm) and pull it through the last stitch.
To check Row 2: k2 + p1 + fourteen repeats of (k1, p1) + k2 = 2 + 1 + 28 + 2 = 33.
Tip
Row 2 starts with three different moves: k2, then p1, then the k1, p1 repeat. Say “knit two, purl, then knit-purl to the last two” for the first few rows. It also ends with a purl followed by k2, which is a quick check that the row came out right.
Changing the width
Keep the center section odd. With the 4 edge stitches added, that means the total cast-on is always an odd number too.
| Cast on | Center stitches | Approximate width |
|---|---|---|
| 23 stitches | 19 | 5 in (13 cm) |
| 27 stitches | 23 | 6 in (15 cm) |
| 33 stitches | 29 | 7.25 in (18.5 cm) |
| 37 stitches | 33 | 8.25 in (21 cm) |
Row 2 is the same for every size: k2, p1, *k1, p1* to the last 2 stitches, k2.
Yarn choices that suit the stitch
Broken rib is a fine texture, so it needs a yarn that lets it show. Smooth, round, plied yarns in light or medium solid colors give the clearest lines. Heathered and gently tonal yarns work well too. Fuzzy yarns such as mohair blends, very dark shades and high-contrast variegated colors swallow the dots, and the scarf ends up looking like plain stockinette.
The stitch scales up nicely. In bulky (#5) yarn on US 10 (6 mm) needles the bumps become bold and the scarf works up faster. At a typical 3.5 stitches per inch, 25 stitches give 25 ÷ 3.5 = 7.1 in.
Common slips and how to spot them
- Two plain rows in a row. You knit Row 1 twice, or purled back. It shows as a smooth band across the right side. Marking the right side prevents it.
- Rib instead of broken rib. Working k1, p1 on both sides gives ordinary rib, and the fabric starts to pull in. Remember that the right side is always plain knitting.
- Bumps shifted by one stitch. If Row 2 starts k2, k1, p1 without the first p1, the dotted columns move over and the lines break. Check that the purl bumps you are making sit above the bumps two rows below.
- Edge stitches purled. The first and last two stitches are knit on every row. A purl there leaves a smooth patch in the garter edge.
Finishing
Weave each tail into the pebbly wrong side, following the purl bumps for a couple of inches and then doubling back. If the yarn is wool, wet blocking evens out the stitches and settles any roll left at the ends; the method is in how to block a knitted scarf. Acrylic does not hold a wet block and must never be pressed with an iron. For more stitches at this level of difficulty, see the overview of the best stitches for scarves.
Frequently asked questions
Is broken rib the same on both sides?
No. One side shows smooth knit columns with lines of small bumps between them, and the other is pebbly all over. Both look finished, which is why the stitch works for scarves.
Does broken rib stretch like regular ribbing?
Much less. The plain knit rows interrupt the rib columns, so the fabric stays close to its knitted width and has only a mild crosswise stretch.
Do I need an odd or even number of stitches for broken rib?
An odd number gives matching knit columns at both edges of the right side. If you add edge stitches, as in this scarf, keep the broken rib section between them odd.