How to Weave in Ends on a Knitted Scarf So They Stay Hidden
Both sides of a scarf show, so yarn tails have to follow the stitches and change direction to stay hidden. Leave at least 6 in (15 cm) and trim only after blocking.
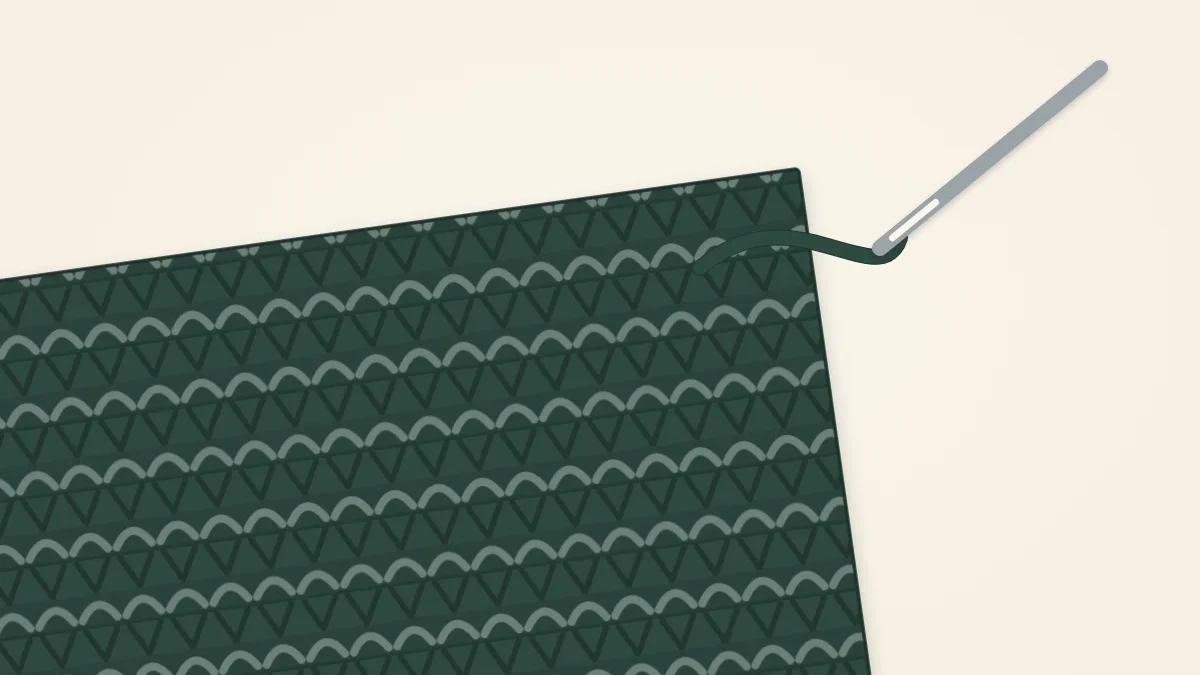
A scarf has no wrong side to hide things on. Whatever you do with the yarn tails will be seen from both faces every time the scarf is worn, and it will be tugged, stretched and washed. So a tail has to be secured along a path that blends into the stitches and anchored well enough that it does not work loose. That takes a tapestry needle, a tail of sensible length and a couple of minutes per end.
How many ends you will have
A scarf knit from a single ball has two tails: one at the cast-on and one at the bind-off. Every time you join a new ball or change color and cut the yarn, you add two more, the old end and the new one. A scarf that uses three balls of one color therefore has 2 + (2 x 2) = 6 ends. A scarf with many cut stripes can have dozens, which is worth knowing before you plan a striped scarf.
Leave tails that are long enough
Leave at least 6 in (15 cm) every time you start or cut the yarn. That is enough to thread a tapestry needle comfortably and weave a secure path with some to spare. Shorter tails can be rescued (push the empty needle through the fabric first, then thread it), but it is slow and the result is less secure.
Slippery yarns such as superwash wool, cotton and bamboo blends hold less friction against themselves, so give them 8 in (20 cm) and a longer woven path. Use a blunt tapestry needle with an eye large enough for the yarn; a blunt tip slides between stitches instead of piercing where you do not want it to.
Weaving in ends on garter stitch
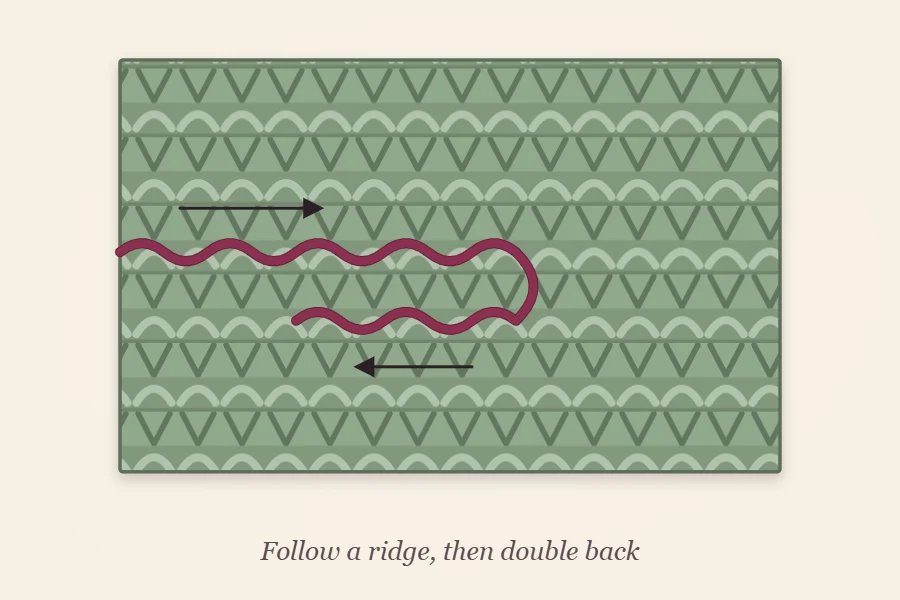
Garter stitch is the easiest fabric to hide a tail in, because each ridge is a row of small bumps that sit close together. This applies directly to a garter stitch scarf and to garter borders on other patterns.
- Thread the tail on the tapestry needle. If the tail sits at a corner, first take it once through the edge stitch so the corner is neat.
- Follow one ridge. Pass the needle up under one bump, down under the next, and keep alternating, so the tail snakes through the ridge the way the knitted yarn does.
- Continue for about 1.5 to 2 in (4 to 5 cm). Do not pull tight; the tail should lie at the same tension as the stitches around it.
- Turn around and work back for about 1 in (2.5 cm) through the bumps of the next ridge, or back through the same ridge while piercing the tail you just laid.
- Stretch the fabric gently sideways and lengthwise so the tail settles, then leave the end hanging for now.
Weaving in ends on ribbing
Rib stretches sideways a great deal, and a tail woven straight across it does one of two things: it stops the rib from stretching at that spot, or it pops out the first time the scarf is pulled. On a ribbed scarf, go vertically instead.
Pick a knit column next to where the tail emerges. Run the needle up or down that column, catching one leg of each stitch, for about 2 in (5 cm). Then move to the neighboring leg and come back about 1 in (2.5 cm) in the opposite direction. Because ribbed columns close up against each other when the fabric relaxes, the tail sinks into the groove and is hard to find from either side. The same vertical approach works on seed stitch and other textured fabrics where there is no clear ridge to follow: travel along the path of existing stitches, on the diagonal if that hides it better.
Change direction and split the plies
Two habits make the difference between an end that stays put and one that creeps out after a few wears.
- Change direction at least once. A tail woven in a single straight line can slide back out along that line. A tail that goes one way and then returns has to be pulled around a corner to escape, and the friction stops it.
- Split the plies. On the return pass, push the needle through the strands of the yarn itself, both the stitches and the tail, instead of sliding under whole stitches. The fibers grip each other. This matters most with smooth, slippery yarn.
Avoid knots. A knot makes a hard lump that shows on both sides of a scarf and can still work loose, leaving a hole. Weaving alone is enough when the path is long and changes direction.
Tip
When two tails meet at the same place, as they do wherever you joined a new ball, weave them in opposite directions. Sending both the same way doubles the thickness in one spot and leaves a visible bump.
Join new yarn at the edge
The neatest ends are the ones you plan for while knitting. Start a new ball at the beginning of a row, not in the middle. A mid-row join puts two tails in the center of the fabric, where the extra thickness is most visible; an edge join lets you run the tails along the side edge or into the nearest ridge.
To know whether the old ball will reach the end of one more row, use the rule of thumb that a row of knitting takes roughly three times the width of the scarf in yarn. On a 7 in (18 cm) scarf that is about 21 in (53 cm). If you have less than that plus a 6 in tail, stop at the edge and join there. Drop the old yarn, start knitting with the new, and leave both tails hanging. If the first stitches feel loose, tie the two tails in a temporary half knot and undo it before weaving. For color changes, weave each tail into the stripe of its own color so it does not show through.
Trim after blocking, not before
Weave every end in, but leave about 1 in (2.5 cm) sticking out until the scarf has been washed or blocked. Stitches shift and relax when they get wet, and a tail cut flush beforehand can pull back into the fabric and reappear on the other face. Once the scarf is dry, give the fabric one more gentle stretch and snip each tail close to the surface, taking care not to nick a stitch. The washing and pinning part is covered in how to block a knitted scarf.
Watch out
Do not weave a tail tightly. A tail pulled taut gathers the fabric into a pucker that blocking will not remove. Stretch the scarf after every pass of the needle and let the tail ease to match.
A quick check before you call it finished
Hold the scarf up to the light and look at both faces. A well-woven end shows as nothing more than a slightly denser patch. If you can see a line of yarn crossing the stitches, pull it out and weave it again along a ridge or column. If you are still working on your first project, the full sequence from cast-on to this last step is in how to knit a scarf for beginners.
Frequently asked questions
How far should I weave a yarn tail?
About 1.5 to 2 in (4 to 5 cm) in one direction and then roughly 1 in (2.5 cm) back the other way. Give slippery yarns such as cotton or superwash wool a slightly longer path.
Should I tie a knot before weaving in the ends?
No. A knot leaves a hard lump that shows on both sides of a scarf and can still come undone. A woven path that changes direction and splits the plies holds without one.
What can I do if the tail is too short to thread?
Push the empty tapestry needle through the stitches along the path first, then thread the short tail through the eye and pull the needle through. You can also use a small crochet hook to draw the tail under one stitch at a time.