Striped Scarf Pattern: An Easy Garter Stitch Scarf in Three Colors
A three-color striped garter scarf on 32 stitches, with clear steps for changing color on a right-side row and deciding when to carry the yarn up the side or cut it.
Tutorial at a glance
Materials
- Tapestry needle
- Scissors
- Tape measure
- Safety pin or scrap yarn to mark the right side
Stripes are the easiest way to put more than one color into a scarf, because you only ever knit with one yarn at a time. The stitch here is plain garter, so the only new skills are starting a new color cleanly and deciding what to do with the yarn you are not using. This pattern makes a three-color scarf in wide blocks, with a narrow-stripe version at the end.
Materials and finished size
- Yarn: worsted weight (#4) in three colors, about 110 yd (100 m) of each, roughly 330 yd (300 m) in total. Called A, B and C below.
- Needles: US 8 (5 mm) straight needles.
- Notions: tapestry needle, scissors, tape measure.
- Finished size: about 7 in (18 cm) wide and roughly 66 in (168 cm) long.
The width comes from simple arithmetic: at a typical garter gauge of 4.5 stitches per inch, the 32 stitches in this pattern give 32 divided by 4.5, or about 7 in. The yardage is an estimate, and your gauge will shift it. Use the same fiber and the same weight for all three colors so the stripes stay the same width and can be washed the same way.
Choosing colors that work together
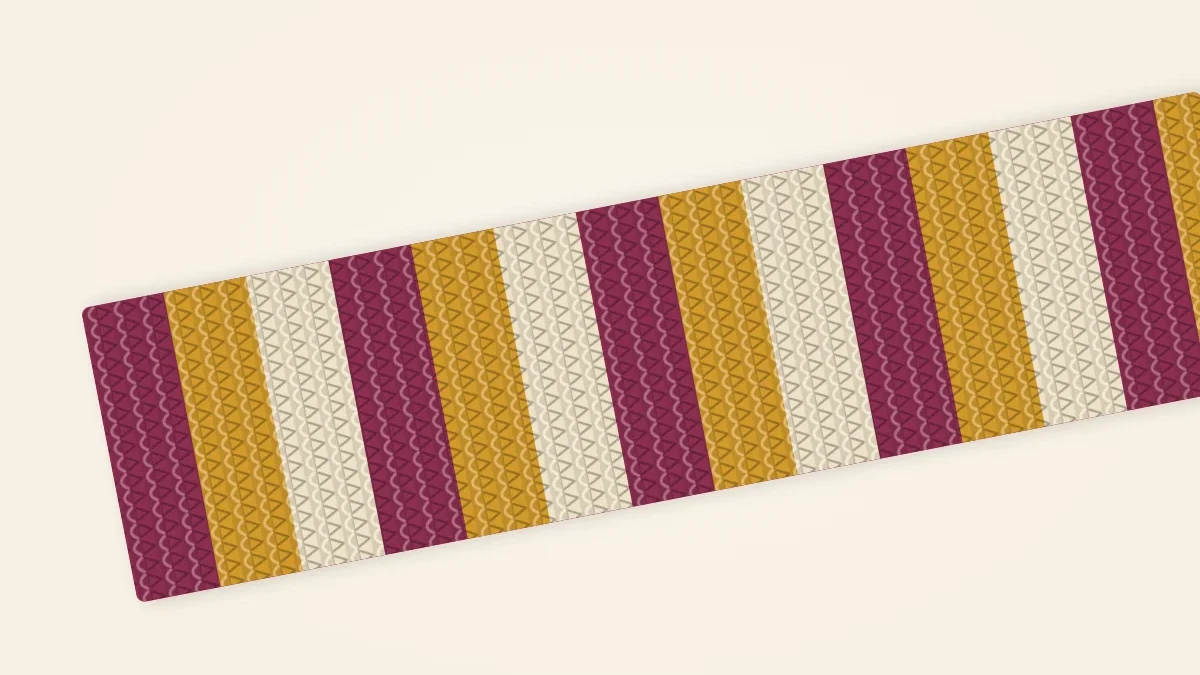
Stripes read clearly when the colors differ in lightness, not only in hue. A dark, a medium and a light, such as mulberry, mustard and cream, will show as three distinct bands from across a room. Two colors of similar depth, such as a medium blue and a medium green, tend to merge.
A quick check is to lay the three balls side by side and look at them through half-closed eyes, or view them on a phone camera set to black and white. If two of them turn the same gray, swap one. Solid colors give the crispest lines. One caution: a strong dark color can bleed onto a pale one in the first wash, so wash a small swatch of both together before trusting them. General fiber advice is in the guide to the best yarn for scarves.
The pattern
Abbreviations: CO (cast on), BO (bind off), k (knit), st(s) (stitch or stitches), RS (right side), WS (wrong side). In garter, every row is knit and two rows make one ridge.
- With A, CO 32 sts.
- Knit 40 rows (20 ridges). The first row you knit is the RS. Mark that side with a safety pin or a loop of scrap yarn.
- Cut A, leaving a 6 in (15 cm) tail. With the RS facing, join B and knit 40 rows.
- Cut B. With the RS facing, join C and knit 40 rows.
- Repeat the A, B, C sequence until you have worked 15 stripes, 5 in each color, ending with a C stripe.
- BO all sts knitwise with the RS facing. Cut the yarn and pull the tail through the last st.
At around 4.5 ridges per inch, 20 ridges measure roughly 4.5 in (11 cm), and 15 stripes come to about 66 in (168 cm). If your ridges are taller or shorter, change the number of stripes, not the number of ridges, so every block stays equal. Counting ridges is explained in the garter stitch scarf pattern.
Changing color on a right-side row
When you knit the first row of a new color, the loops of the old color are pulled through to the far side of the fabric. On the side facing you the line between colors is clean. On the other side it shows as a broken row of two-color bumps. Always changing color with the RS facing keeps every one of those broken lines on the WS.
That is why each stripe has an even number of rows. Finish a stripe after a WS row, and the next row is an RS row ready for the new color.
- Drop the old yarn. Lay the new yarn over the right needle with a 6 in (15 cm) tail hanging at the edge.
- Knit the first st with the new yarn. It will feel loose.
- Knit two or three more sts, then gently pull both tails to snug up the edge st.
- Knit to the end of the row.
If you normally slip the first stitch of each row for a chain edge, knit it on color-change rows. More on that in the guide to neat scarf edges.
Carrying the yarn or cutting it
For narrow stripes you do not have to cut the yarn at each change. The unused color can wait at the side edge and be carried up to where it is next needed. For wide stripes, the carried strand would be too long and would catch on things, so cutting is the better choice.
| Stripe height | What to do with the unused yarn | Result |
|---|---|---|
| 2 to 4 rows | Leave it at the edge and pick it up when needed | No extra ends; a short strand at one edge |
| 6 to 8 rows | Carry it, twisting it once around the working yarn at the start of every other RS row | No extra ends; edge slightly thicker on one side |
| More than 8 rows | Cut it and rejoin later | Two tails per color change to weave in |
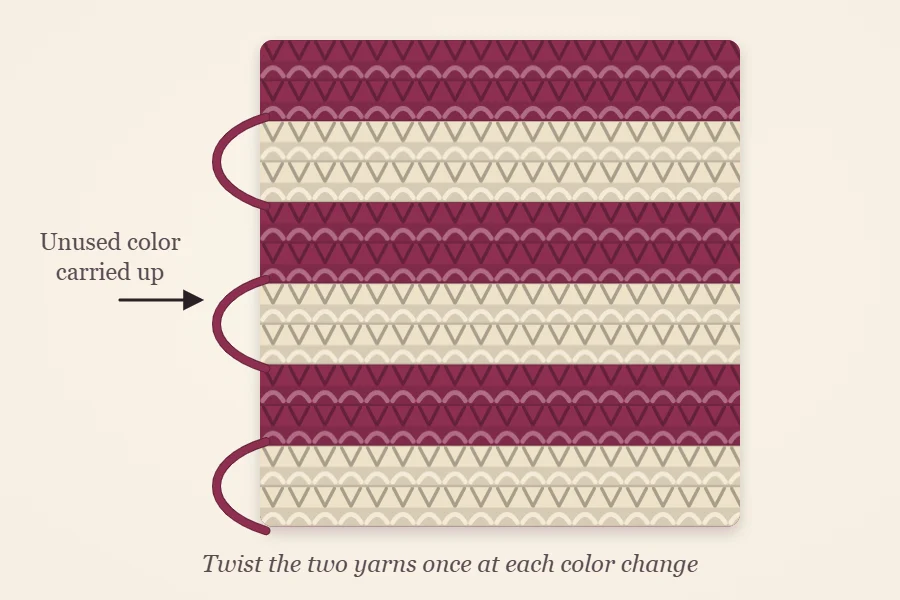
When you pick up a carried yarn, do not pull it tight. A short strand draws the edge up and makes that side of the scarf shorter than the other. Stretch the edge lightly before knitting the first stitch so the strand lies flat.
Watch out
The pattern as written, with 40-row blocks, is a cutting pattern. It produces 28 tails at the color changes plus the cast-on and bind-off tails. Weaving in a few after each stripe is far less tedious than facing all 30 at the end.
Stripe sequence ideas
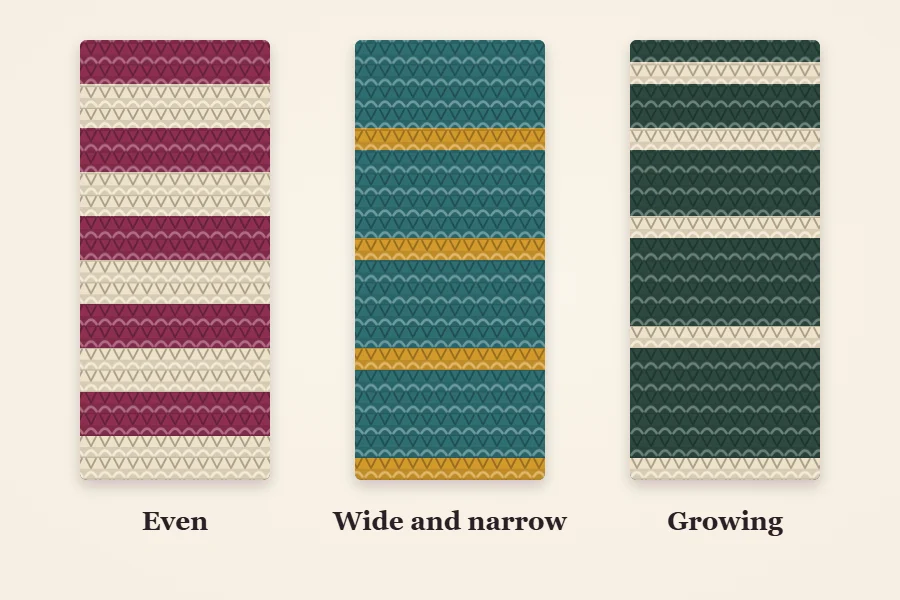
- Even narrow stripes, two colors: 4 rows A, 4 rows B, repeated. Both yarns stay attached and are carried up the side, so there are only four tails in the whole scarf.
- Wide and narrow: 16 rows A, 4 rows B, repeated. Carry A behind the narrow B stripe; cut B each time, or carry it with a twist every other RS row.
- Growing stripes: keep A at 4 rows and let B grow: 2 rows, 4 rows, 6 rows, 8 rows and so on. The scarf shades from mostly A at one end to mostly B at the other.
- Leftover stripes: any number of colors, any even number of rows, in whatever order the yarn runs out. Keep every yarn the same weight.
Whatever the sequence, keep every stripe to an even number of rows.
Finishing
Weave each tail into a ridge of its own color on the WS, so it cannot show through a lighter stripe. Run it along the ridge for about 2 in (5 cm), then back the other way for a few stitches. The full method is in how to weave in ends.
Tip
Garter stitch rarely needs heavy blocking. If the edges ripple where colors change, a light wet block on wool, or simply washing and drying the scarf flat, is usually enough to settle them.
Frequently asked questions
Why do my stripes have a dotted line of the other color on one side?
That broken line appears on the side facing away from you when you knit the first row of a new color in garter stitch. Change color only on right-side rows and all of those lines stay on the wrong side.
Do I have to cut the yarn every time I change color?
No. For stripes of up to about 8 rows you can leave the unused yarn at the edge and carry it up the side. For taller stripes, cut it and weave in the tails.
How many colors can I use in a striped scarf?
As many as you like, provided the yarns are the same weight and can be washed the same way. Two or three colors are easiest to manage on a first striped scarf.