Ribbed Scarf Pattern: An Easy 2×2 Rib Scarf
A 2x2 ribbed scarf on 42 stitches of worsted-weight yarn, with a stitch count that makes both edges match and a bind-off that keeps the ends stretchy.
Tutorial at a glance
Materials
- Tapestry needle
- Scissors
- Tape measure
Two knit stitches, two purl stitches, repeated across the row: 2×2 rib is one of the oldest scarf fabrics there is, and it earns its place. It does not curl, it looks the same on both sides, and it is stretchy enough to sit close around the neck. This pattern uses 42 stitches of worsted-weight yarn and adds one detail that many rib scarves skip, which is a stitch count that makes both side edges match.
Materials and finished size
| Item | What you need |
|---|---|
| Yarn | Worsted weight (#4), roughly 350-450 yd (320-410 m), in a solid or lightly heathered color |
| Needles | US 8 (5 mm) straight needles, or a circular needle used flat |
| Notions | Tapestry needle, scissors, tape measure |
| Cast on | 42 stitches |
| Finished size | About 6 in (15 cm) wide relaxed, stretching to about 9 in (23 cm); 65 in (165 cm) long |
The yardage is an estimate. Rib uses more yarn than garter stitch for the same relaxed width, so buy at the upper end if you are unsure, and read how much yarn a scarf needs if you want to change the size. Smooth, plied yarn shows the columns most clearly. Fuzzy or heavily variegated yarn blurs them. The guide to the best yarn for scarves covers fiber choices.
Why rib needs more stitches
In ribbing, the knit columns come forward and the purl columns fall back. Left alone, the fabric folds along those lines like a paper fan, and the purl stitches almost disappear between the knit columns. That is why rib is elastic, and it is also why a ribbed scarf comes out much narrower than the same number of stitches in garter.
The arithmetic for this pattern shows the effect. At a typical worsted gauge of 4.5 stitches per inch, 42 stitches laid out flat would measure a little over 9 in (23 cm), because 42 divided by 4.5 is 9.3. Relaxed, the rib draws in to roughly two thirds of that, about 6 in (15 cm). If width matters, knit a few inches and measure the fabric relaxed, not stretched.
The stitch count: a multiple of 4 plus 2
One repeat of 2×2 rib is 4 stitches: 2 knit, 2 purl. If you cast on an exact multiple of 4, the row begins with 2 knits and ends with 2 purls, and the two side edges look different. Adding 2 extra stitches lets the row end with a knit pair as well, so both edges show the same knit column.
For this scarf, 4 x 10 = 40, plus 2 = 42. To change the width, pick another number that fits the same rule:
- 34 stitches (4 x 8 + 2) for a narrower scarf, about 5 in (13 cm) relaxed
- 42 stitches (4 x 10 + 2) for the pattern as written
- 50 stitches (4 x 12 + 2) for a wider scarf, about 7 in (18 cm) relaxed
The pattern
Abbreviations: CO (cast on), BO (bind off), k (knit), p (purl), st(s) (stitch or stitches), RS (right side), WS (wrong side). Instructions between asterisks are repeated.
- CO 42 sts. A long-tail cast-on is a good match because it stretches with the rib. Keep it loose.
- Row 1 (RS): k2, *p2, k2*; repeat from * to the end of the row.
- Row 2 (WS): p2, *k2, p2*; repeat from * to the end of the row.
- Repeat Rows 1 and 2 until the scarf measures 65 in (165 cm), or the length you want, ending after a Row 2.
- BO in pattern (explained below), cut the yarn leaving a tail of at least 6 in (15 cm), and pull it through the last st.
Each time you switch between knit and purl inside a row, the yarn has to move: to the back before a knit stitch and to the front before a purl stitch. Pass it between the needle tips. If it goes over the needle instead, it creates an extra stitch.
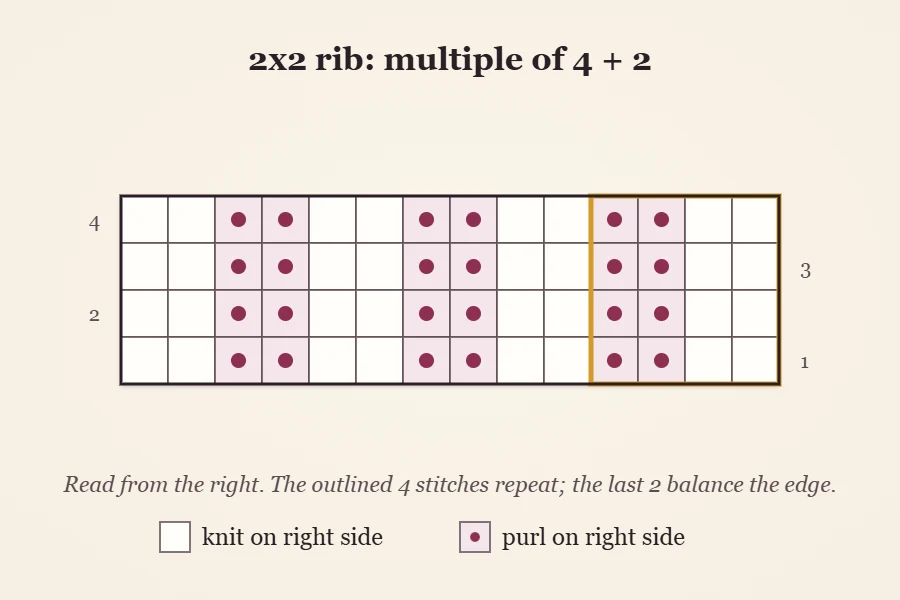
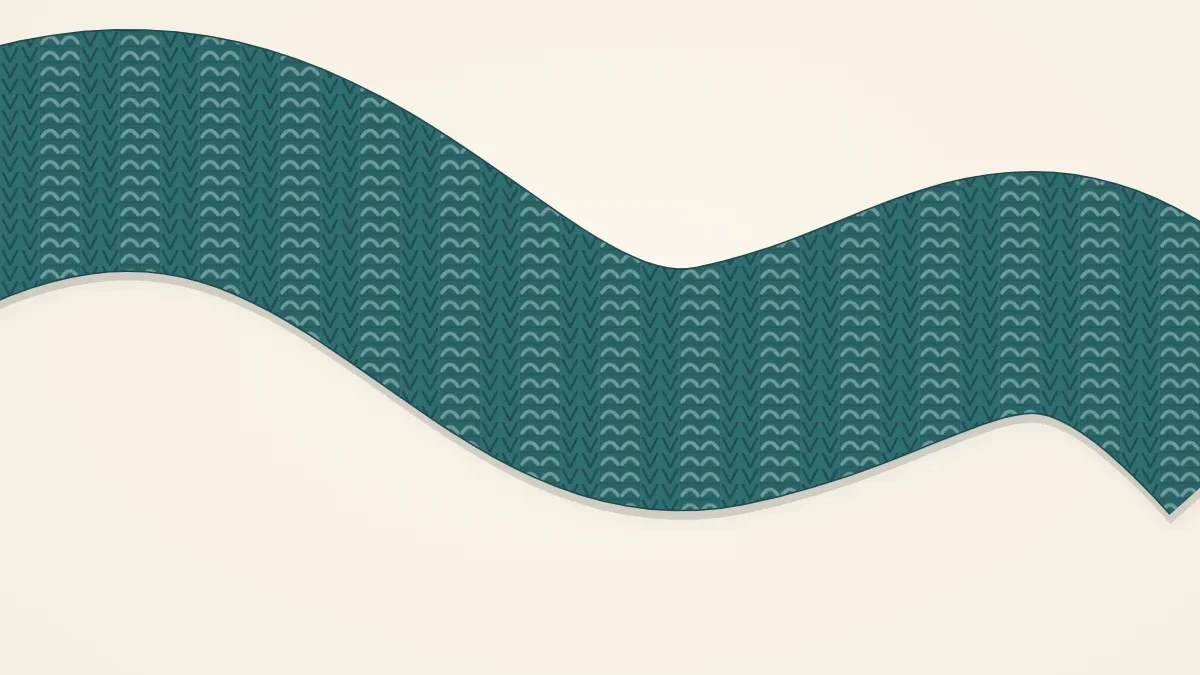
The chart shows the fabric as seen from the right side, which is why every row in it looks identical even though Row 2 is worked as p2, k2. A stitch purled on the wrong side appears as a knit on the right side.
Reading your knits and purls
After the first two rows you can stop reading the instructions and read the fabric. Look at the stitch waiting on the left needle:
- A knit stitch looks like a small V, as if it is wearing a V-neck sweater. Knit it.
- A purl stitch has a horizontal bump across its base, like a scarf wrapped around its neck. Purl it.
This rule, knit the knits and purl the purls, keeps the columns stacked. It also tells you which row you are on: if the first two stitches are Vs, you are on a row that starts with k2. If a column suddenly changes from Vs to bumps partway up the scarf, a knit and a purl were swapped on that row.
Tip
Count your stitches at the end of the first few rows. With 42 stitches, every row should finish with a matching pair: k2 at the end of Row 1, p2 at the end of Row 2. If you end with a single stitch or with the wrong pair, the mistake is somewhere in that row and is quick to find.
Binding off in pattern
A standard bind-off knits every stitch, which leaves a flat, tight line across the top of a ribbed fabric and makes that end flare or pucker. Binding off in pattern keeps the last row elastic and continues the columns right to the edge.
- With the RS facing, k2. Lift the first st on the right needle over the second and off the needle. One st is bound off.
- Work the next st as it appears, knitting a knit or purling a purl, then lift the previous st over it.
- Continue across, moving the yarn front or back before each st as needed, until one st remains.
Keep the bind-off loose. If it pulls the end of the scarf in tighter than the cast-on, redo it with a needle one or two sizes larger in your right hand. You need a strand about four times the scarf width to bind off, so stop knitting rows while you still have that much.
Finishing and blocking
Weave each tail along a knit column on one side of the fabric, then back in the opposite direction for an inch or so. Because both sides of a scarf show, follow the path of the stitches as described in how to weave in ends.
Block rib gently. Stretching it wide and pinning it will flatten the columns and remove the spring that makes rib worth knitting. For wool, soak, press out the water in a towel, lay the scarf flat, pat it straight without widening it, and leave it to dry. Acrylic does not hold a wet block and should never be pressed with an iron. More detail is in the guide to blocking a knitted scarf.
Ways to change it
- Softer fabric: go up to US 9 (5.5 mm) needles. The rib will be looser and drapier, and slightly wider.
- Thicker yarn: the same rule works in any weight. In bulky yarn, 22 sts (4 x 5 + 2) gives a similar width. A 1×1 version in heavy yarn is covered in the chunky ribbed scarf pattern.
Frequently asked questions
How many stitches should I cast on for a 2x2 ribbed scarf?
Use a multiple of 4 plus 2 so both edges end in a knit column. This pattern uses 42 stitches in worsted-weight yarn; 34 or 50 also work for a narrower or wider scarf.
Why is my ribbed scarf so much narrower than I expected?
Rib pulls in because the purl columns fold back behind the knit columns. That is normal, so measure the fabric relaxed and cast on more stitches than you would for garter stitch.
Does a ribbed scarf curl at the edges?
No. Rib has equal numbers of knit and purl stitches on each side, so it lies flat and looks the same on both faces.