Beginner Scarf Mistakes and How to Fix Them
The six mistakes that spoil most first scarves, from extra stitches at the row start to binding off too early, each with its cause and a practical fix.
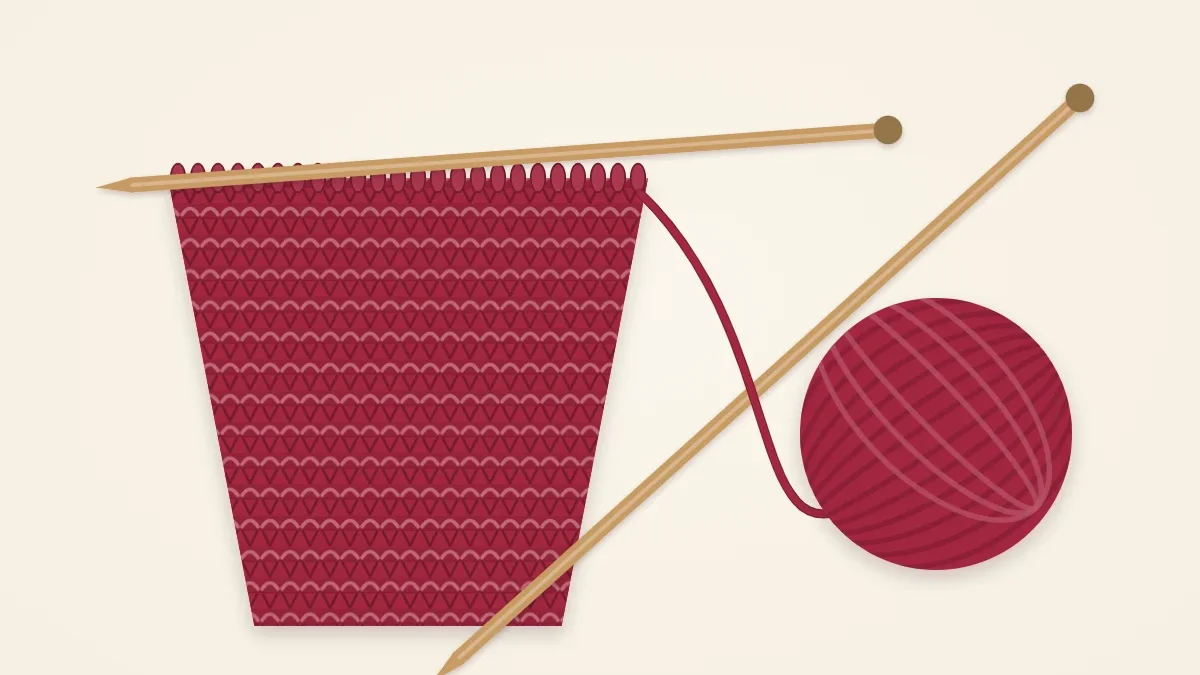
Most first scarves go wrong in the same handful of ways, and nearly all of them show up as one of two symptoms: the stitch count changes, or the fabric is hard to read. Neither means the knitter lacks ability. Each mistake below has a specific mechanical cause, which means it also has a specific fix. The examples assume the usual first project, a garter stitch scarf of 28 stitches (sts) in worsted-weight yarn on US 8 (5 mm) needles.
Quick Diagnosis
| What you see | Likely cause | Where to look |
|---|---|---|
| Scarf getting wider | Extra stitches made by accident | Start of each row; small holes mid-row |
| Scarf getting narrower, or a ladder of loose strands | A dropped stitch | Below the gap in the fabric |
| Loose loops along the sides | Slack first stitch | Both side edges |
| Bottom edge pulls in | Tight cast-on | The first row |
| Cannot tell one stitch from the next | Dark or fuzzy yarn | The yarn label |
| Finished scarf will not wrap | Bound off too early | The tape measure |
Extra Stitches at the Start of the Row
This is the classic first-scarf problem. You cast on 28 stitches, and twenty rows later there are 34. At about 4 stitches per inch, those 6 extra stitches make the scarf 1.5 in (4 cm) wider than it started, and it keeps flaring.
The usual cause is the first stitch of the row. When you turn the work, the yarn hangs from that stitch. If you lift the yarn up and over the top of the needle to get it to the back, it drags the stitch upward, and both legs of the loop appear on the needle like two separate stitches. Knit into each of them and the row has gained one.
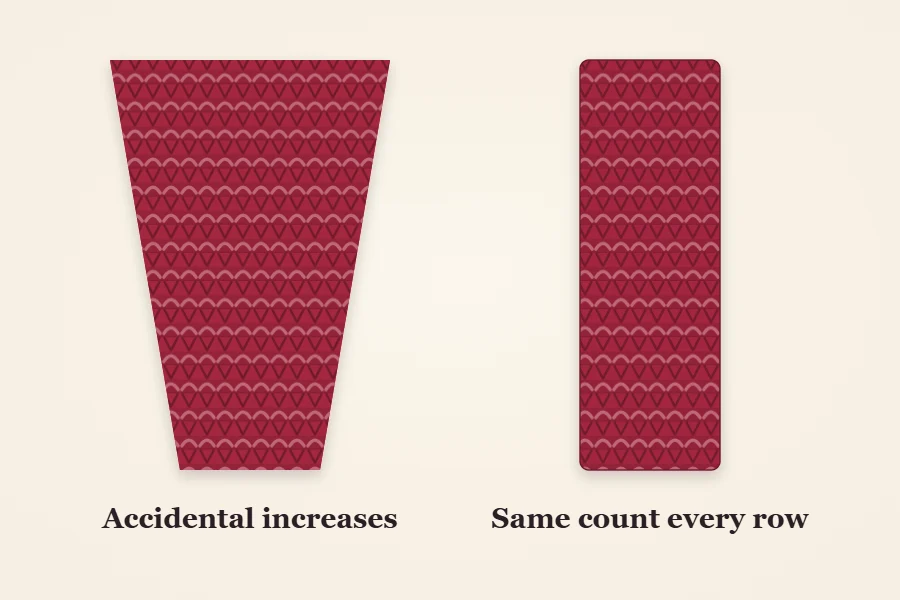
The fix: before the first stitch of every row, let the yarn hang straight down below the needle and then take it to the back underneath the needle tip. Look at the first stitch. It should be a single loop.
The second cause is an accidental yarn over: the yarn slips across the top of the right needle between two stitches and is knit as a stitch on the next row. This one leaves a small hole. Keep the yarn at the back the whole time you are knitting.
If you already have extras and do not want to rip back, you can return to 28 by knitting two stitches together (k2tog): insert the right needle into two stitches at once and knit them as one. Do it once per row, a few stitches in from the edge, until the count is right. The flare below will remain, but it will stop growing.
Dropped Stitches
A stitch that slides off the needle and is not knit will start to unravel downward, leaving a column of horizontal strands like a ladder. The count goes down by one.
The fix, straight away: as soon as you spot a loose loop, catch it with a removable marker or a safety pin so it cannot run any further.
The fix, properly: if the drop happened in the current row or the one before, unknit back to it. Insert the left needle tip from front to back into the stitch directly below the first stitch on the right needle, slide the right needle out, and pull the working yarn free. Repeat one stitch at a time until you reach the dropped loop, put it back on the left needle without twisting it, and carry on. A stitch that has run down several rows can be worked back up with a crochet hook, but in garter stitch the loop has to be pulled through alternately from the front and from the back, which is fiddly. For a first scarf, ripping out a few rows is often faster.
Tip
Count your stitches at the end of every second row for the first 6 in (15 cm). A wrong count caught within two rows takes a minute to fix.
Loose, Loopy Edges
The last stitch of one row becomes the first stitch of the next, and it has no neighbor on one side to hold it in shape. It tends to stretch into a long loop, especially on one edge more than the other.
The fix: knit the first stitch normally, then give the yarn a gentle pull after the second stitch. That takes up the slack in the first without strangling it. Do not yank the first stitch itself, because an edge that is too tight will pucker.
Once your count is steady, a slipped edge gives a cleaner result: slip the first stitch of every row purlwise with the yarn in front, move the yarn to the back, and knit across. The details are in the guide to neat scarf edges.
A Cast-On That Is Too Tight
Beginners tend to pull each cast-on loop snug for security. The result is an edge with no give, so the bottom of the scarf is narrower than the body and the first row is a struggle to knit.
The fix: space the cast-on stitches along the needle with a small gap between them rather than packing them together, and stop pulling after each loop. If your cast-on is still tight, work it on a needle one or two sizes larger, such as a US 10 (6 mm), then switch to the US 8 (5 mm) for the first row. The same applies at the other end: a bind-off worked too tightly pulls the top edge in.
Yarn That Hides the Stitches
Every fix above depends on being able to see individual stitches. Black, navy and other very dark colors hide them. So do fuzzy yarns, yarns with loops or slubs, and strongly variegated colors. Fuzzy yarn is also difficult to rip out, because the fibers lock together.
The fix: learn on a smooth, plied, worsted-weight yarn in a light or medium solid color. The guide to the best yarn for scarves explains what to look for on the label.
Stopping Too Short
Garter stitch grows slowly, at about 4 ridges per inch in worsted yarn, and it is tempting to bind off as soon as the piece reaches around the neck. A 40 in (100 cm) scarf on an adult can be draped but not wrapped or tied. Most adult scarves are 60-70 in (150-180 cm) long, and the scarf width and length guide gives the ranges by style.
Running out of yarn is the other reason scarves end early. A 7 x 65 in garter scarf in worsted yarn typically needs 250-350 yd (230-320 m), which is often more than one ball. Check the yardage on the label before you start, and see how much yarn a scarf needs if you are using a different weight.
Rip Back or Leave It?
Not every flaw is worth fixing. A useful test is whether the mistake will get worse.
- Always fix: a dropped stitch, because it will keep unraveling, and a wrong stitch count, because the edge will keep drifting.
- Fix if it bothers you: a hole from a yarn over, or a wavy section early in the scarf.
- Leave: slightly uneven stitches. They even out with wear and washing, and more so with blocking if the yarn is wool.
If the first few inches are much rougher than the rest, starting over is a reasonable choice. The second attempt at a first scarf usually goes faster than the first, because your hands have already learned the movement.
Frequently asked questions
Why does my scarf keep getting wider?
You are adding stitches by accident, usually at the start of the row, where yarn pulled over the top of the needle makes the first stitch look like two. Take the yarn to the back under the needle and count your stitches every couple of rows.
Do I have to start over if I dropped a stitch?
No. Secure the loose loop with a safety pin, then unknit back to it one stitch at a time and put it back on the needle. Only a stitch that has run down many rows may be quicker to fix by ripping out.
Is it normal for my first rows to look uneven?
Yes. Tension settles as your hands learn the movement, and mild unevenness softens with wear and washing. Only a changing stitch count or a dropped stitch really needs fixing.